Here is a the story of setting up a Trellis server at Digital Ocean including SendGrid and Google Mail for a client. I took care of this recently to move him from a shared Dreamhost server (testing ground) to a Trellis LEMP with Digital Ocean using the Bedrock Modern WordPress Stack. This post also includes dealing with general email using Google and external site email using SendGrid. Took longer mainly due to SendGrid issues. Normally is should just take a few hours depending on the propagation of the domain name and the provisioning and deployment of your server.
Backups
I made a backup of the existing website using BackupBuddy (awesome backup plugin by iThemes) and files backup with SFTP. I also made a database backup using Sequel Pro. On top I exported all data using the WordPress Export Tool. If you are doing a bare bone installation or had been developing with Trellis from scratch and are going to production you can skip this step.
Digital Ocean Setup
I then did the initial set up a US Digital Ocean Ubuntu 16.0.4 LTS Server. To set up Trellis later you need this type of bare bone setup. The client wanted to have a US located server so I picked NYC. I also checked backups and added my SSH keys:

Gmail for Mail
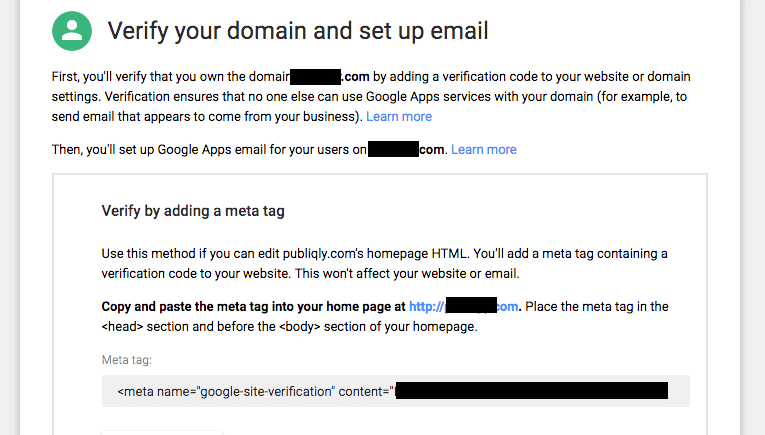
Gmail Domain Verification
Domain Propagation
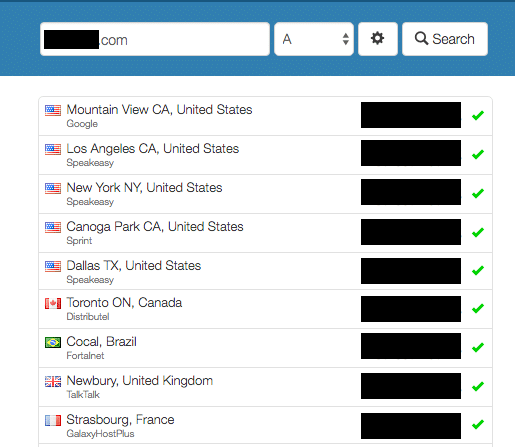
At Dreamhost I already had changed the DNS and had an A record pointing to the new ip address. See article on pointing hosting away from Dreamhost here. This in case you are also using Dreamhost for DNS. If you use another provider they should have documentation for you too.
NB Emptying local DNS might be useful too. Especially when most DNS Servers globally are showing the correct ip address for the domain already. For OSX use:
sudo dscacheutil -flushcache;sudo killall -HUP mDNSResponder;say cache flushed
NNB You may also have to remove the SSH key when you tried to access the site with the old ip address. Remove the offending line at
/Users/your-user/.ssh/known_hosts
Server Provisioning with Trellis
Once all pointed to the Digital Ocean Droplet’s ip address xxx.xx.x.xxx.xxx I could install the Trellis Server at Digital Ocean. You always first set all things up locally and then add all to the server. This means you have several files to edit. Eight when you set up the local server as well as production. A few more when you take care of staging as well. Check things locally. See if they work and do not forget to:
- add commercial plugins to .gitignore
- remove www as url if you are only using non www urls
- activate build-before.yml deploy hook if you are working with Sage
You can read more about it at Roots.io and in this blog post. Better do it well or you will bump into Trellis errors.
Server Deployment
When all is well and the server is provisioned you can deploy the web application to the server. You can do this using the following command:
./deploy.sh production domain.com
As you can see I am deploying to production. If you are deploying to staging then change accordingly. When all goes well the site should then load and you should be able to install WordPress. Once that is done you can log in and check if all plugins and needed theme have been added.
Importing Content
Content at the installed Trellis Server at Digital Ocean can be imported with WP CLI. This comes pre-installed with the Trellis setup and is an awesome CLI tool for WordPress developer. Importing can be done from the command line with the WordPress Import plugin active. Check that it is installed and active. When it is use the following command:
admin@domain:/srv/www/domain.com/current$ wp import --authors=skip domain.wordpress.year-mo-da.xml
That should allow you to import all. You will see notices and or warnings, but the tool does the job most of the time without issues.
Gmail Domain Confirmation
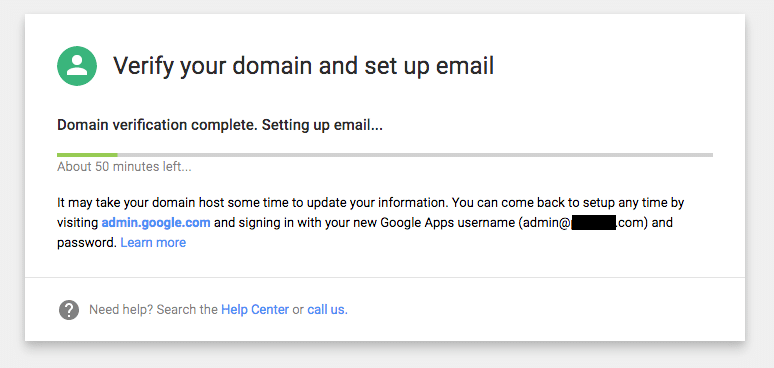
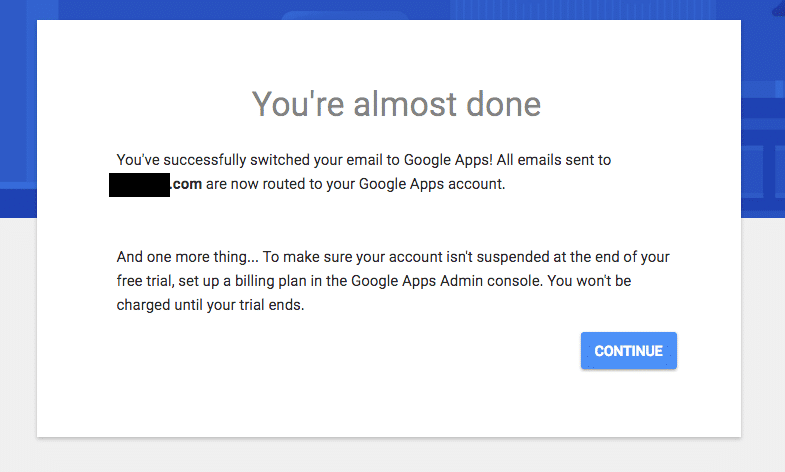
Once the deployment was done well and I had included the Google Domain Verification email I could proceed with setting up Gmail for Work. In the Dreamhost Panel I indicated I would use Google Mail for email. Dreamhost can then with ease add the necessary MX records. With that Google Aps for Work had enough information and things setup to process all:
Sendgrid – External Mail
For the external email server of the Digital Ocean server we use Sendgrid .

The service is for free up to 12,000 emails per month and 2,000 contacts. Just for getting emails when comments are left, users are registered and such. Better to do this once the domain is all setup. Otherwise Sendgrid may stop the provisioning.
SendGrid Provisioning Issues
That is the issue we ran into. The stated:
Unfortunately, your account did not pass provisioning. We’ve sent you an email outlining why your account was not activated. Learn More.
We opened a ticket with them. Took them about 5 hours to reply. They needed the email address to be changed to reflect the domain, a CNAME created to show ownership of the site:
dig +short @8.8.8.8 sendgrid.domain.com CNAME
sendgrid.net.
and details on the nature of my client’s business. This as we used a different email address for initial setup as Google Mail was not set up. And as the domain hadn’t been properly propagated yet. Next time I will wait a little longer!
Somehow the initial ticket got lost so I opened a new ticket with them and added the last response with details I sent them. About 24 hrs after I set things up with them I still hadn’t had an answer from them. Then I did get a reply again to add a phone number and sent some screenshots of the web app we were building. Et voila, the day after so after about 48 hours our account got accepted!
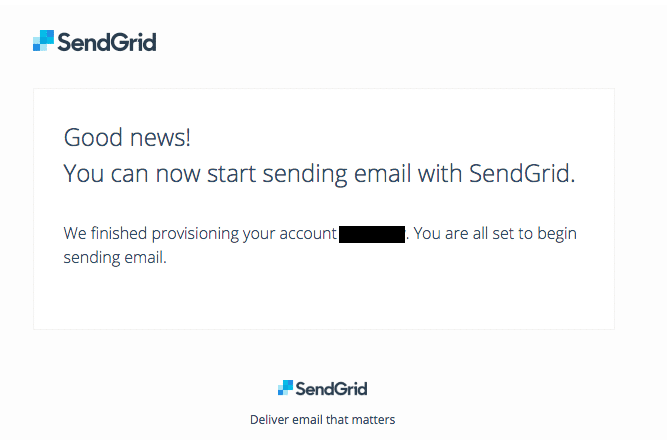
Also got an email with links to documentation on things setting up using SMTP or their API. Also a link to their getting starting guide which is always useful for newbies.
Trellis Mail Setup
Once things were settled with SendGrid I could use the account and add the details in group_vars/all/mail.yml :
# Documentation: https://roots.io/trellis/docs/mail/
mail_smtp_server: smtp.example.com:587
mail_admin: admin@example.com
mail_hostname: example.com
mail_user: smtp_user
mail_password: "{{ vault_mail_password }}" # Define this variable in group_vars/all/vault.yml
Trellis would like you to use SMTP. SendGrid has the following information on that:
SMTP Relay
If you are integrating SendGrid with an existing application, setting up the application to use our SMTP relay is easiest, as it only requires modifying SMTP configuration.
- Change your SMTP username and password to your SendGrid credentials
- Set the server host name to smtp.sendgrid.net
- Use ports 25 or 587 for plain/TLS connections and port 465 for SSL connections
For most users we suggest port 587 to avoid rate limits set by some hosting companies.With SMTP, 100 messages can be sent with each connection.
So we used smtp.sendgrid.net:587 and then added all our details. Inside group_vars/all/vault.yml I already had a password added. But as SendGrid stated I had to change the user and password to the ones used by SendGrid.
A good Discourse thread on mail here and the Roots Trellis Mail documentation here.
Re Provisioning
As the Mail credentials were changed I had to first update my repository and then re provision the server.
Git repo update:
Jaspers-Mini:trellis jasper$ pwd
/Users/jasper/webdesign/domain.com/trellis
Jaspers-Mini:trellis jasper$ git status
On branch master
Your branch is up-to-date with 'origin/master'.
Changes not staged for commit:
 (use "git add <file>..." to update what will be committed)
 (use "git checkout -- <file>..." to discard changes in working directory)

modified: group_vars/all/mail.yml
 modified: group_vars/all/vault.yml

no changes added to commit (use "git add" and/or "git commit -a")
Jaspers-Mini:trellis jasper$ git commit -a -m "changed email credentials"
[master 35672f8] changed email credentials
 2 files changed, 5 insertions(+), 5 deletions(-)
Jaspers-Mini:trellis jasper$ git push
Counting objects: 7, done.
Delta compression using up to 8 threads.
Compressing objects: 100% (7/7), done.
Writing objects: 100% (7/7), 783 bytes | 0 bytes/s, done.
Total 7 (delta 4), reused 0 (delta 0)
remote: Resolving deltas: 100% (4/4), completed with 4 local objects.
To git@github.com:jasperf/domain.git
 abe93a8..35672f8 master -> master
Then I did the actual provisioning again:
ansible-playbook server.yml -e env=production
Provisioning can take another 15-20 minutes as it will check all needs to make sure all has been set up well and to make sure no changes are skipped. So get another coffee or do some other work in the meanwhile. If all went well you should now see:
PLAY RECAP *********************************************************************
localhost : ok=0 changed=0 unreachable=0 failed=0
domain.com : ok=103 changed=7 unreachable=0 failed=0
Email Failure
I tested email by creating an account and trying. It did not arrive. I then checked SendGrid documentation on working with Sstmp. I only saw another extra line
UseSTARTTLS=YES
but assumed it was already included in Trellis. When I checked the config I saw it was:
cat /etc/ssmtp/ssmtp.conf
# Ansible managed: /Users/jasper/webdesign/domain.com/trellis/roles/ssmtp/templates/ssmtp.conf.j2 modified on 2016-09-19 07:47:36 by jasper on Jaspers-Mini

root=admin@domain.com
AuthMethod=LOGIN
FromLineOverride=Yes
UseTLS=Yes
UseSTARTTLS=Yes
hostname=domain.com
mailhub=smtp.domain.net:587
AuthUser=user
AuthPass=password
Then I thought. Perhaps the from sender in WordPress settings is still not OK. But it was. It was using the existing email account attached to the domain. Then I checked the Ssmtp config again and realized the mailhub was wrong. I had used our domain, not sendgrid. Silly me. So updated repo with corrected settings and provisioned again.
Email Test Successful
So with mail settings changed I tested SendGrid / Mail again by resetting the password for the test user and it worked!
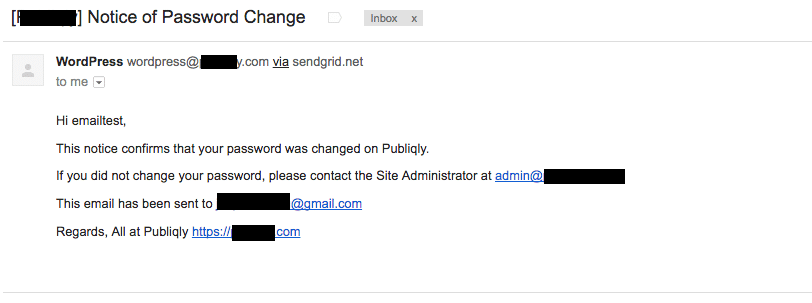
And at SendGrid it showed as well:
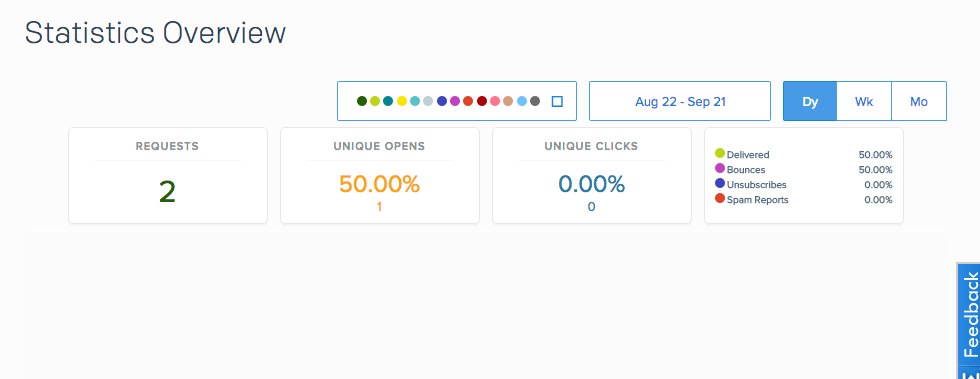
I can only assume the bounce was due to the initial email with faulty settings.
Trellis Server at Digital Ocean all done
Well, we now are all done setting up a Trellis Server at Digital Ocean including SendGrid and Google Mail. The WordPress website is up and running at Digital Ocean using Trellis. The client can receive email with Google Apps Email although payment credentials still need to be added as well as some more aliases. We can also send emails from the servers for subscriptions and when payments are done using SendGrid. Great result!