BackupBuddy and GoDaddy have never really been buddies really. Been hard to run BackupBuddy on GoDaddy to say the least, but I am here to tell you there are options to make it work on GoDaddy as running backups from the Dashboard fail most if not all the time. The option is running backups from the shell. This you can of course only do if can access the site from shell and know how to use shell commands and or follow this short tutorial.
WP CLI
First of all you need to install WP CLI, the wonderful WordPress command line that is completely open source. GoDaddy explains how this can be done here. FYI this guide can be followed to upgrade WP CLI as well.
You first access GoDaddy using shell like so:
ssh user@domain.com
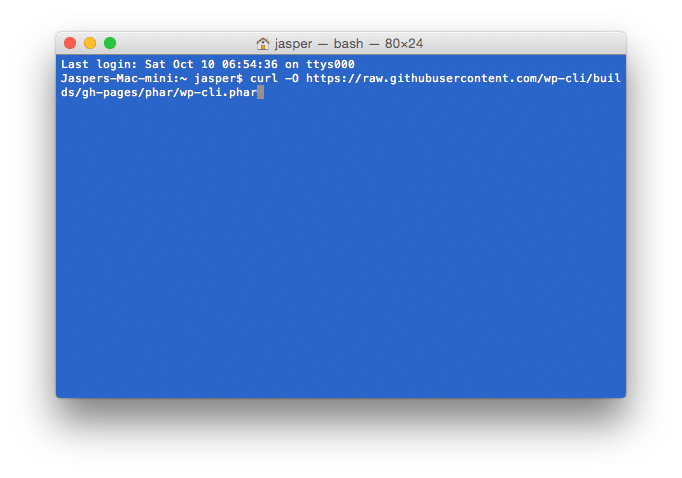
Then you use curl to download WP CLI:
curl -O https://raw.githubusercontent.com/wp-cli/builds/gh-pages/phar/wp-cli.phar

Then you make sure the file can be executed
chmod +x wp-cli.phar
And to check the functionality of WP CLI you can run the following command:
php wp-cli.phar --info
Then you create an alias so you can use wp instead of the entire path to the file. Mind you that you make sure you have the PHP phar file in your home directory or else move it there.
NB If you were following this guide for updating WP CLI you should be done now.
alias wp='~/wp-cli.phar'
Once the alias is created add it to .bashrc:
echo "alias wp='~/wp-cli.phar'" >> .bashrc
and make sure it is taken up in the current Bash session:
source .bashrc
Once that is done the wp cli command line tool should be working and we can move on to running BackupBuddy from the commandline.
Backup with BackupBuddy from the Command Line
Now from the command line you can do the following command to do a full backup:
wp backupbuddy backup 2
Number two is related to a FULL backup of the site. Once that command is given a full backup will be run without I/O or RAM issues and you will see that it can be done!
Extra Tip
You could also add a crontab job from GoDaddy (see document at GD here) to run the script automatically on certain times, but that is for another tutorial.