A few months ago – 8 months already yikes! – I wrote a great post on Bedrock Modern WordPress Stack and as is it became a rather long post I decided to indicate I would write on Bedrock Ansible – now Trellis a little later on. Well time has come and gone and the only item I wrote about was dealing with Trellis errors. Also got a lot of hits, but this follow up blog post was still missing. So I finally decided to give it a shot again. WordPress LEMP Stack management with Trellis here we go!
Trellis
I wrote a little about Trellis in that mentioned post and to quote myself here Trellis is:
Trellis is basically an extension of Bedrock and helps you with easing the deployment of sites and management of sites locally, on staging and production environments.
Again, just like I love Bedrock Modern WordPress stack I am infatuated with Trellis for local development, provisioning and deployment of WordPress sites. It is an awesome tool built on the shoulders of giants like mainly Ansible for using its playbooks and Vagrant to do several things:
- local environment creation with Vagrant, VirtualBox and Ansible
- Staging setup using Ansible for staging on subdomain or other local domain
- Deployment of site to final destination or production
Trellis Specs 02-2016
And as these awesome guys at Roots keep on developing and updating all tools we can now use HTTPS, HTTP2 and PHP 7 . How awesome is that! Here the latest specs you get setting up a local server (Vagrant Box) or a remote server:
- Ubuntu 14.04 Trusty LTS
- Nginx (with optional FastCGI micro-caching)
- PHP 7.0
- MariaDB as a drop-in MySQL replacement (but better)
- SSL support (A+ on https://www.ssllabs.com/ssltest/)
- HTTP/2 support (requires SSL)
- Composer
- WP-CLI
- sSMTP (mail delivery)
- Memcached
- Fail2ban
- ferm
NGINX
I assume you noticed NGINX. A lot of devs out there are still using Apache and I am still too, but Nginx is awesome and really is the future for dealing with more traffic and is being used more and more so this should not slow you down one bit.
Setting up Trellis
Basically the whole setup has been explained on the Trellis repo and I think it is pretty clear. It has been written with using Bedrock in mind. But if you do not want to use the neat Bedrock file structure you do not have. The same things goes for Trellis. If you want Sage and Bedrock only or just Sage you are free to do so.
Requirements
- Ansible >= 2.0.0.2 – Install • Docs • Windows docs
- Virtualbox>= 4.3.10 – Install
- Vagrant>= 1.5.4 – Install • Docs
- vagrant-bindfs>= 0.3.1 – Install • Docs (Windows users may skip this)
- vagrant-hostmanager – Install • Docs
Most local boxes do not have Ansible installed nor all the Vagrant tools for that matter. So double check what you have before you start of with Trellis. These tools are needed. Git is also needed. This for keeping track of changes in the main repo, your local installation and on staging as well as the pleasure of simply cloning the Trellis repo.
Local Setup
After you made sure you installed VirtualBox, Vagrant and needed plugins as well as Ansible it is time to clone Trellis and get started setting up the local Vagrant box.
git clone https://github.com/roots/trellis.git
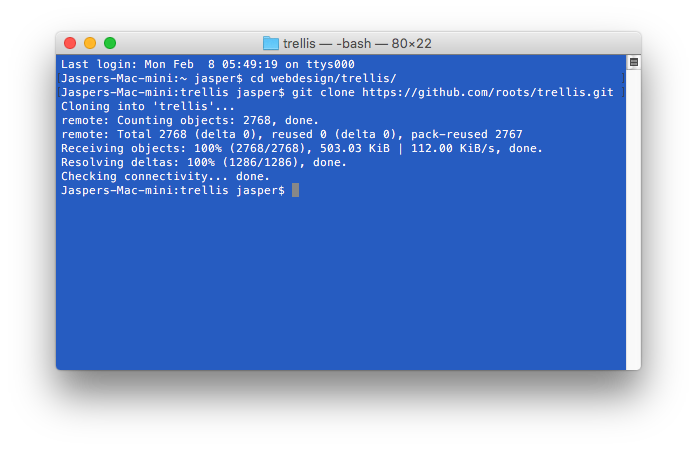
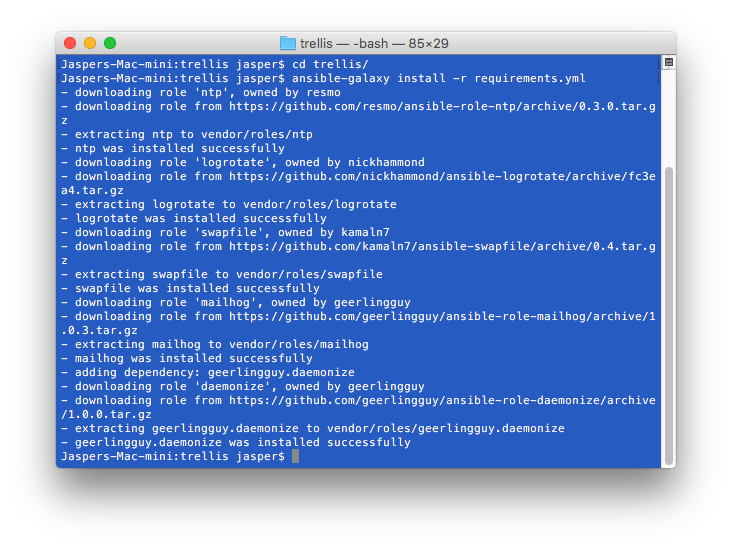
Then you need to install all Ansible roles and packages:
cd trellis
ansible-galaxy install -r requirements.yml
Bedrock
Well and then you have the opportunity to add Bedrock to the mix if you want to and then I would refer to the earlier article. If you are doing a new site setup from scratch I would. If not I would clone the whole package once the server has been set up locally and or remotely. But really even then you could do the Bedrock setup and import the database and needed files for your app.
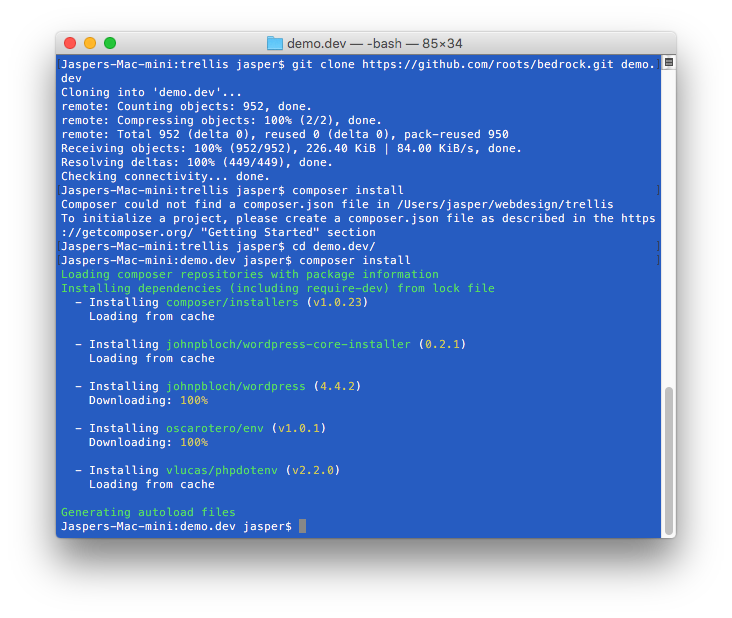
Here are the command to set up Bedrock inside folder demo.dev (changed to site later as this makes more sense workflow wise)
cd ..
git clone https://github.com/roots/bedrock.git site
cd site
composer install
Project Structure
You should now have your project folder with inside the folder / directory trellis and the directory with the name of you site. I chose demo.dev in some of the screenshots, but for you it would make more sense to use use site as the config files have been setup that way and as the root folder already could or should have the name of your project, namely the production site domain name.

Configuration – Local, Staging and Production
What is next is configuring all the necessary files to make the local, staging and production setup correct with correct domain names, admin user and password, MySQL password and so on. We will configure the files for development for now. The process is almost the same for staging and production. The main files to configure are located in project-name > trellis > group_vars > and then for the purposes of this blog post development:
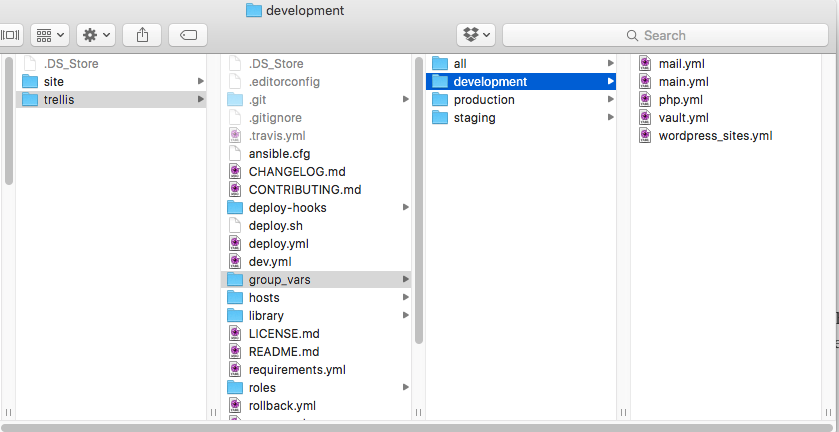
The two files we will adjust here are wordpress_sites.yml and vault.yml . Here we indicate the site domain name locally and what MySQL password and WordPress user and password we want to be created.
wordpress_sites.yml
The file wordpress_sites.yml is the main file where you pick the basic elements for you development environment. In this case the local environment. Here below you see I have the name test1.com as main domain, test1.dev for development and local path site (unchanged). I also added the home url and site url as well as database user and name.
# Documentation: https://roots.io/trellis/docs/local-development-setup/
wordpress_sites:
 test1.com:
 site_hosts:
 - test1.dev
 local_path: ../site # path targeting local Bedrock site directory (relative to Ansible root)
 site_install: true
 site_title: test1 Site
 admin_user: admin
 # admin_password: (defined in group_vars/development/vault.yml)
 admin_email: admin@test1.dev
 initial_permalink_structure: /%postname%/ # applied only at time of WP install and when `site_install: true`
 multisite:
 enabled: false
 subdomains: false
 ssl:
 enabled: false
 cache:
 enabled: false
 duration: 30s
 env:
 disable_wp_cron: true
 wp_home: http://test1.dev
 wp_siteurl: http://test1.dev/wp
 wp_env: development
 db_name: test1_dev
 db_user: test1_dbuser
 # db_password: (defined in group_vars/development/vault.yml)
Vault.yml
vault.yml content for local development is not adjusted much as all is for local development. I kept the MySQL password as is and only adjusted the domain name and admin password.
# Documentation: https://roots.io/trellis/docs/vault/
vault_mysql_root_password: devpw
# Documentation: https://roots.io/trellis/docs/security/
vault_sudoer_passwords:
 admin: $6$rounds=100000$JUkj1d3hCa6uFp6R$3rZ8jImyCpTP40e4I5APx7SbBvDCM8fB6GP/IGOrsk/GEUTUhl1i/Q2JNOpj9ashLpkgaCxqMqbFKdZdmAh26/
# Variables to accompany `group_vars/development/wordpress_sites.yml`
vault_wordpress_sites:
 test1.com:
 admin_password: admin
 env:
 db_password: admin
Creating the Vagrant Box
with that done we can start generating our own local development environment by starting up our Vagrant box. This will contain all specified by Trellis and have a WordPress site with Bedrock’s structure up and running. Go to the trellis folder and fire of:
vagrant up
Vagrant Provisioning snapshot:
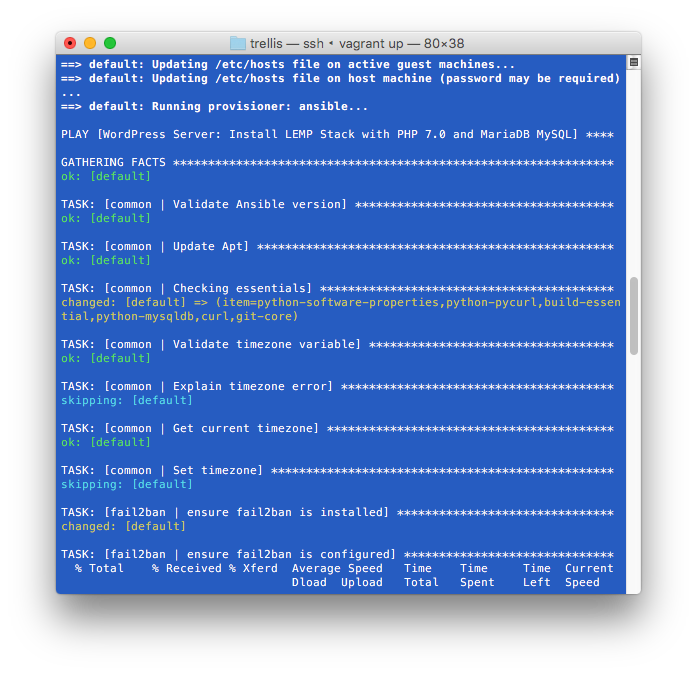
Once that is done the site will be up and running in your browser. In my case a test1.dev and you will see something like:
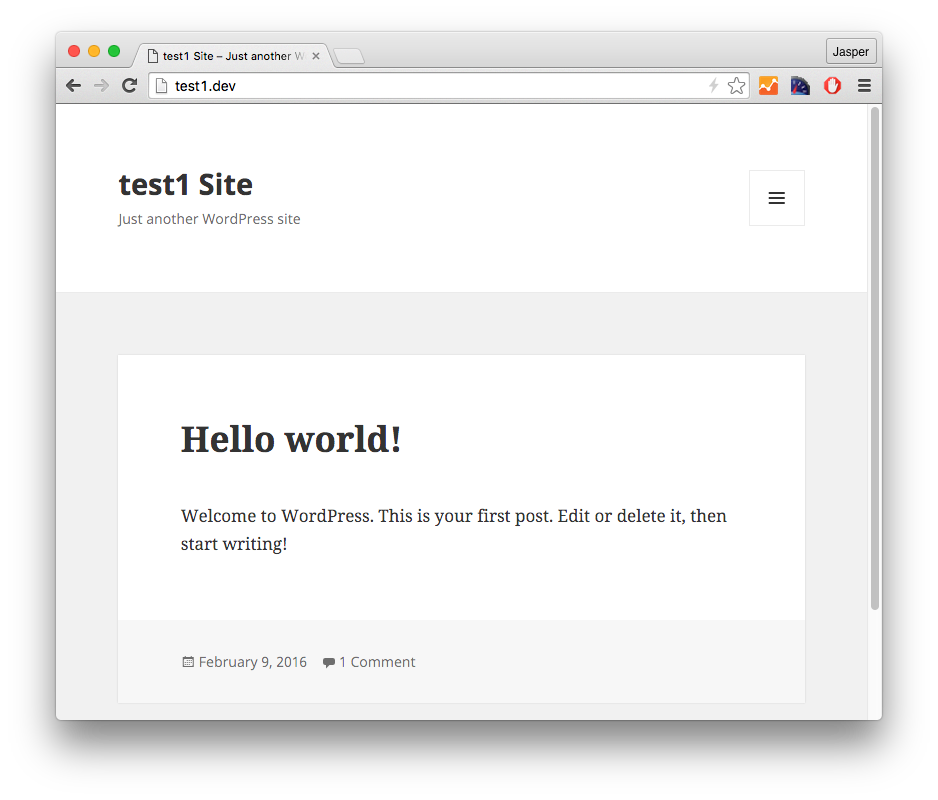
MAGIC
So there you go. The magical has happened. A local LEMP stack has been setup by Trellis with a secure site structure using Bedrock and a WordPress site up and running. Isn’t this awesome! You can start working on your theme now or plugins and when you are ready to move to staging you can configure all the other files. That should be a breeze.
As this post is again really long I will add deployment to production to another post. I might even split this one into two posts again some time later on. Stay tuned!